Drip Irrigation System Installation system installation
Installing drip irrigation system possible independently in 2-3 hours without special skills. In this guide we'll cover entire process step-by-step from planning to first launch.
What you need for installation
Tools
-
Scissors or pruner
For cutting pipes and tape
-
16mm punch
For creating holes in main pipe
-
Tape measure
For accurate distance measurements
-
Marker
For marking connection points
Materials
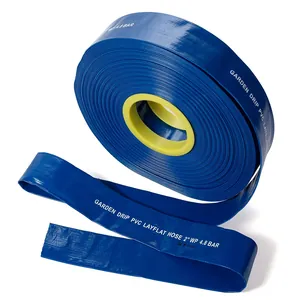
- Drip tape (calculated length)
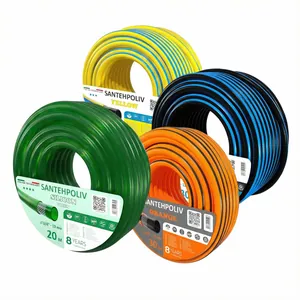
- PVC main pipe 25-32mm
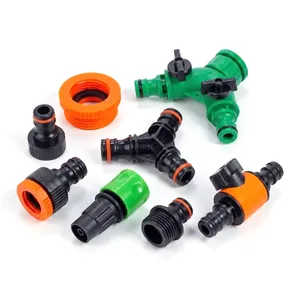
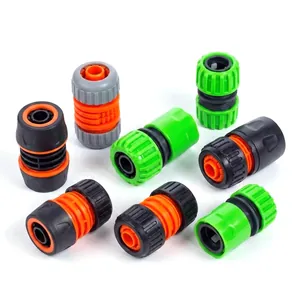
- Start fittings with gasket
- Tape end caps
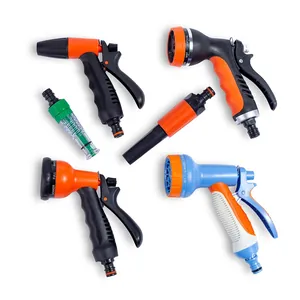
- Water connection faucet
- 120 mesh disk filter
- Timer (optional)
Step-by-step installation guide
Site planning and marking
First and most important stage - proper system planning.
What to do:
- Measure length and width of each bed
- Draw site plan on paper with dimensions
- Determine water source connection point
- Mark main pipe path
- Count number of rows for connection
Important!
Main pipe better laid perpendicular to beds. Easier to connect tape and uses less materials.
Water source connection
Installing filtration and pressure regulation system.
Correct element sequence:
1. Water source
Water supply/barrel
2. Faucet
System switch
3. Filter
Mandatory!
4. Reducer
If pressure > 2 atm
5. Main line
Pipe 25-32mm
- 1. Water source — Water supply/barrel
- 2. Faucet — System switch
- 3. Filter — Mandatory!
- 4. Reducer — If pressure > 2 atm
- 5. Main line — Pipe 25-32mm
Water supply (0.5-2 atm)
Connect faucet to water tap through adapter. Install filter after faucet. If pressure above 1.5 atm - add reducer.
Barrel (gravity irrigation)
Install barrel at height 1.5-2m or use pump. Install faucet at bottom of barrel. Filter mandatory - sludge accumulates in barrel.
Main pipe laying
Main pipe is system's main artery that distributes water across all rows.
Installation instructions:
- Unroll 25-32mm pipe along bed start
- Connect one end to filter output
- Mark with marker tape connection points (where each bed)
- Make holes with 16mm punch at marked places
- Close pipe end with cap or corner fitting
Professional tip
Make holes slightly closer to bed start (5-10cm from edge). Easier to insert start fittings and no need to stretch tape.
Wrong
- Making holes with knife - uneven edges
- Holes larger than 18mm - water leaks
- Holes smaller than 14mm - fitting won't fit
Right
- Use special 16mm punch
- Hole perfectly round
- Fitting enters tightly with gasket
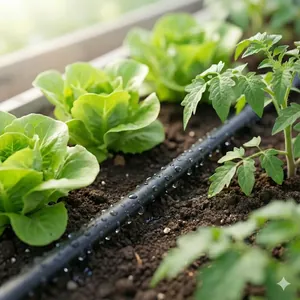
Drip tape connection
Most important stage - proper tape connection and laying.
IMPORTANT: Check tape orientation!
Drip tape has top and bottom. Drippers must face UP!
Correct - drippers up
Water flows evenly, soil moistened uniformly along entire length
Wrong - drippers down
Water accumulates in tape, first meters flooded, end dries out
Step-by-step connection:
-
Insert start fittings in main pipe holes
Fitting has rubber gasket - insert with force until click. Check tightness - should not leak.
-
Cut tape to required length
Measure bed length + 20cm reserve. Cut perpendicular, even cut important for connection tightness.
-
Stretch tape onto fitting
Stretch tape edge and pull onto fitting cone 3-4cm. Should sit tight, without gaps.
-
Lay tape along bed
Drippers up! Tape should lie flat, without twists. Can press with stones every 2-3 meters.
-
Close tape end with cap
Two methods: 1) Insert plastic cap, 2) Fold end and secure with rubber band. First method more reliable.
Life hack for heavy soils
If soil is dense (clay), make small grooves 2-3cm deep before laying tape. Water will penetrate better to roots.
System testing and setup
Before full use, system needs testing and flushing.
First launch procedure:
-
System flush (mandatory!)
- Remove all caps from tape ends
- Open water for 2-3 minutes
- Water should flow from all rows - this washes out dirt
- After flushing close caps
-
Leak check
- Open water at full power
- Inspect all fitting connections with pipe
- Check tape connection points
- If leaking anywhere - tighten fitting or replace
-
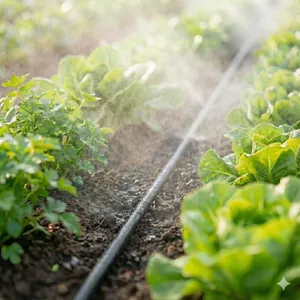
Watering uniformity test
- Run irrigation for 15-20 minutes
- Check soil moisture at beginning, middle and end of each row
- Moistening should be same along entire length
- If end dry - possibly low pressure or clogged drippers
Irrigation mode setup
For most crops optimal:
- Watering time: morning (6:00-8:00) or evening (18:00-20:00)
- Duration: 30-60 minutes
- Frequency: daily in heat, once every 2 days in moderate weather
If installed timer - set automatic watering to these parameters.
Common problems and solutions
Problem: Water not flowing or flowing weakly
Possible causes and solutions:
- Clogged filter → Flush or replace the filter element
- Low water pressure → Raise the tank or install a pump
- Kinked pipe → Straighten the main line and remove any kinks
- Closed valve or tap → Check all valves along the line
Problem: Uneven watering (beginning wet, end dry)
Possible causes and solutions:
- Tape placed emitters-down → Flip the tape to the correct side
- Line too long (>100 m) → Split into two zones
- Elevation change on a slope → Use pressure-compensating emitters
- Clogged emitters at the end → Flush the system and install a filter
Problem: Leaks at connection points
Possible causes and solutions:
- Low-quality fitting without a seal → Replace with a fitting that has a rubber gasket
- Hole in the pipe too large → Use sealant or replace the section
- Tape not pulled tight enough → Remove, stretch the end, and reattach
- Damaged tape near the connection → Cut off 5 cm and reconnect