How to connect and set up automatic irrigation timer
Simple guide for connecting irrigation timer in 30 minutes. Automate garden or lawn irrigation effortlessly.
Required materials and tools
Materials:
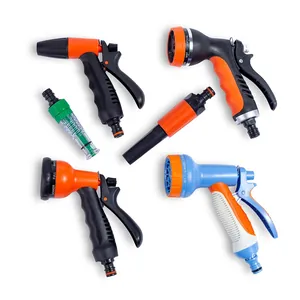
- Irrigation timer (mechanical or electronic)
- Batteries — type and quantity depend on the model: most commonly 2× AA or 2× AAA; some electronic models use 4× AA or a 9V battery. Check the manual
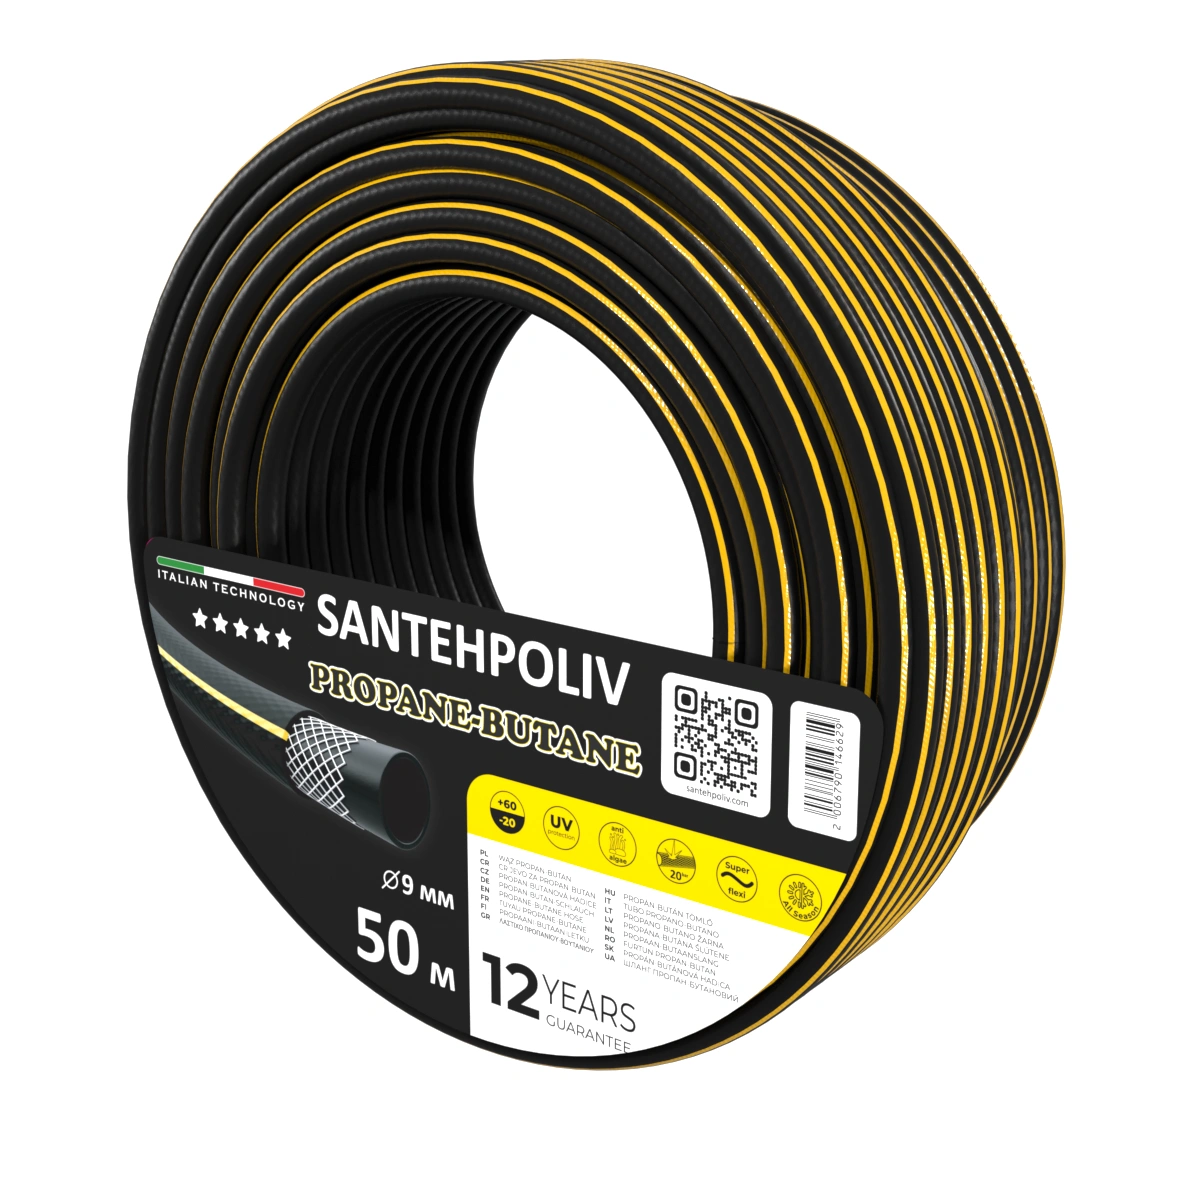
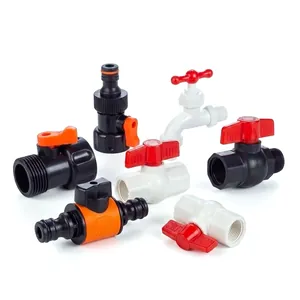
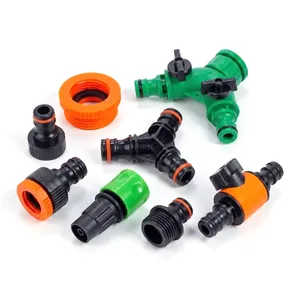
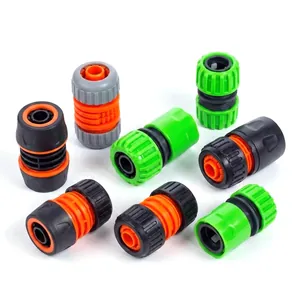
- 3/4" faucet adapter (if needed)
- Rubber gasket (usually included)
- FUM tape or sealant
Tools:
- Screwdriver (for opening battery compartment)
- Cloth (for cleaning threads)
- Wrench (if thread tight)
Choose reliable irrigation timers in our catalog:
Go to catalogStep-by-step instruction
Timer preparation
Unpack the timer and verify contents (housing, gaskets, manual). For electronic models, open the battery compartment with a screwdriver. Insert batteries per the manual — type and quantity depend on the model (most commonly 2× AA or AAA, sometimes 4× AA or 9V), observing polarity (+/−). Close the compartment. Verify the display is working — it should show 00:00 or 12:00.
Tip: Use quality alkaline batteries - last up to 1 year. Cheap saline batteries may fail after 1-2 months.
Faucet connection
Turn off water at inlet faucet (turn valve clockwise until stop). Clean faucet threads from dirt and old tape. Check rubber gasket presence in timer inlet. Screw timer onto faucet clockwise, hand-tighten. If connection weak - wrap faucet threads with 2-3 layers FUM tape and repeat.
Important: Don't overtighten with wrench - plastic may crack. Tighten only by hand but firmly.
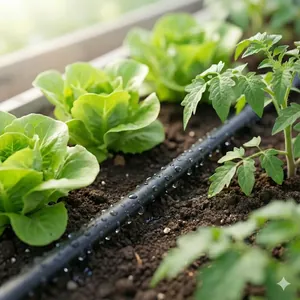
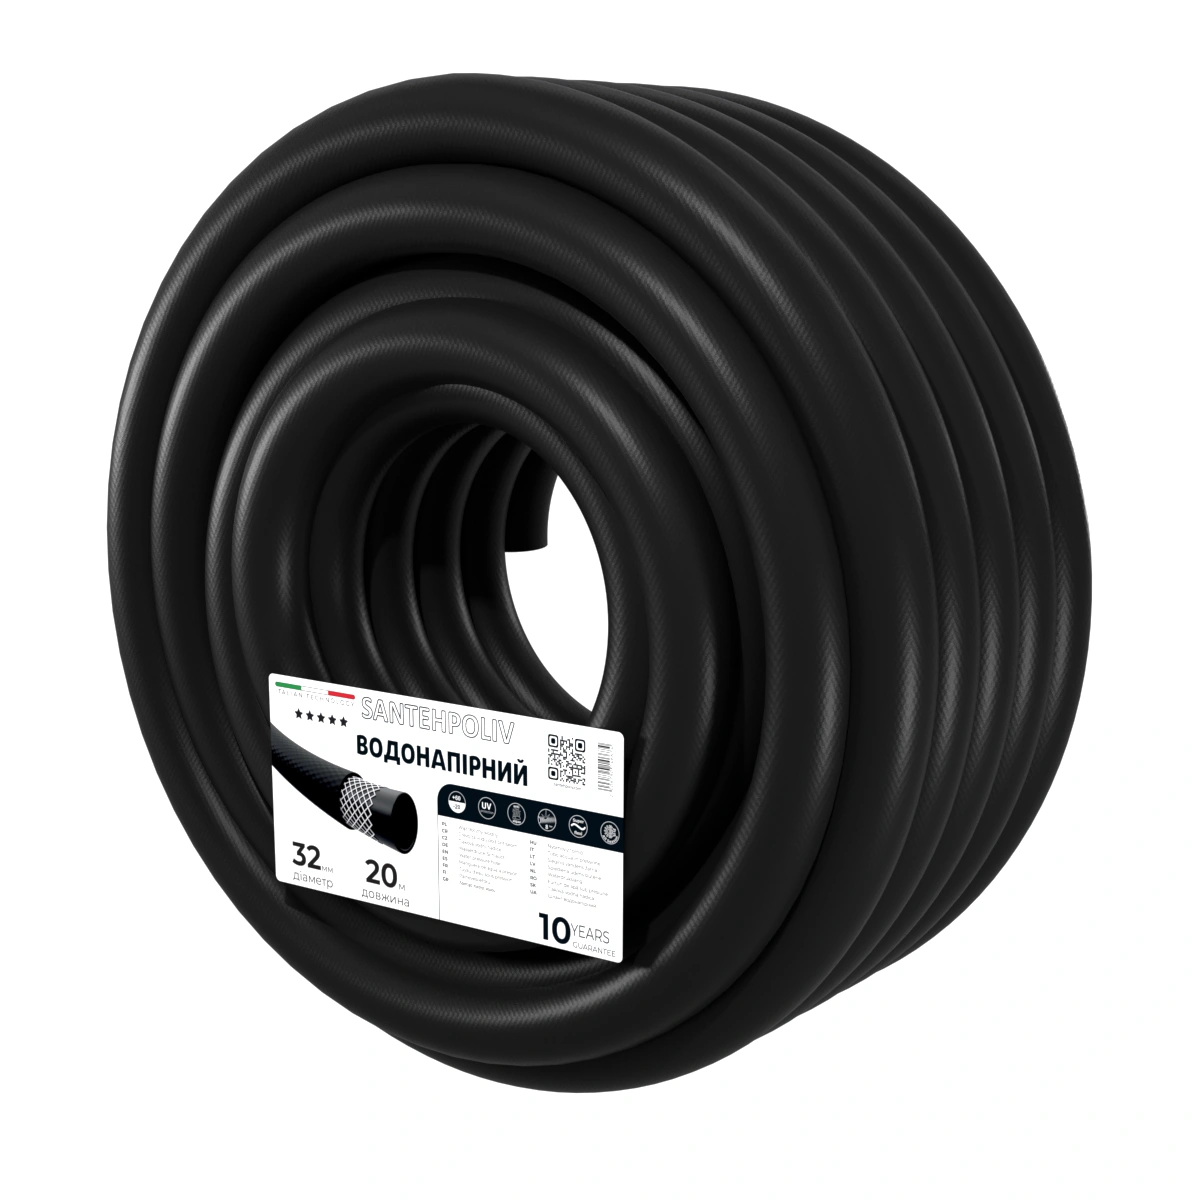
Hose or irrigation system connection
Connect irrigation hose, sprinkler or drip irrigation main line to timer outlet. Most convenient use quick-connect - allows easy hose disconnection for storage. Check connection seal - rubber gasket must fit tightly.
Irrigation program setup
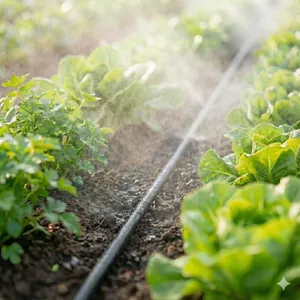
Set the current time on the timer (CLOCK / TIME buttons). Set the watering start time — 6:00 AM is recommended, when evaporation is minimal and leaves have time to dry before nightfall (fungal protection). Watering duration depends on the tape/sprinkler flow rate and soil — approximate values: 30–45 min for 1.6 L/h drip tape on standard loam; 15–25 min for a spray head; 25–40 min for a rotor. Determine the exact duration empirically: 1 hour after watering, the soil should be moist to a depth of 15–20 cm but not waterlogged. Select the frequency: daily (DAILY) — for sandy soils and heat; every other day (EVERY 2 DAYS) — for loam; 2–3 times per week — for clay. Press SET/OK to save.
Life hack: Most timers support 1-4 programs. Set 2 sessions: morning (6:00) and evening (19:00) for optimal moisture in heat.
Test run
Fully open water at inlet faucet (turn valve counterclockwise). Press MANUAL or ON button to activate manual mode. Ensure water passes through timer unobstructed. Timer valve should open with characteristic click. Check all connections for leaks - if dripping, tighten or rewrap with FUM tape. Press OFF to stop.
Automatic mode activation
Switch timer to automatic mode by pressing AUTO button or moving switch to ON position. Display should show AUTO symbol or time until next irrigation. Wait for next scheduled irrigation time (or start artificially by changing timer time for test). Ensure system automatically turns on at set time and turns off after cycle completion.
Done! Now your irrigation system works autonomously. Check weekly and change batteries annually.
Operation tips
- Check battery charge every 2-3 months - most models show indicator
- In rainy weather use RAIN OFF button to disable irrigation for 24-72 hours
- For winter mandatory remove timer, drain water and store in warm room
- Don't leave timer under direct sunlight - temperature may damage electronics
- Regularly clean inlet filter from sediment and sand
For multi-zone systems and agricultural projects
A simple tap timer suits a single irrigation zone. Serious projects require a controller:
- 4–16 zone controllers (Hunter X-Core / Pro-C, Rain Bird ESP-TM2, Galcon 8056) — operate 24V solenoid valves via relays or latch solenoids
- WiFi controllers (Hunter Hydrawise, Rain Bird Link, Galcon GSI) — automatic adjustment based on weather forecasts saves 30–40% water
- Rain sensor (Hunter Mini-Clik, Rain Bird RSD-BEx) — blocks irrigation after rainfall
- Soil moisture sensor (tensiometric / capacitive) at 15–30 cm depth for vegetables, 40–60 cm for trees
- Flow sensor and master valve — automatic shutoff in case of mainline leaks
Ready to automate irrigation?
Our catalog features mechanical and electronic timers from verified manufacturers with warranty.