How to install drip irrigation system yourself
Step-by-step instruction with photos and expert tips. Install efficient irrigation system in 2 hours.
Required materials and tools
Materials:
- Drip tape (quantity depends on the area)
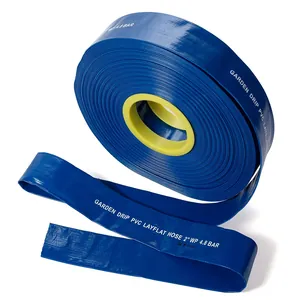
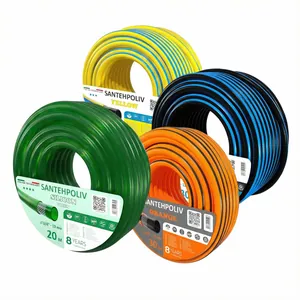
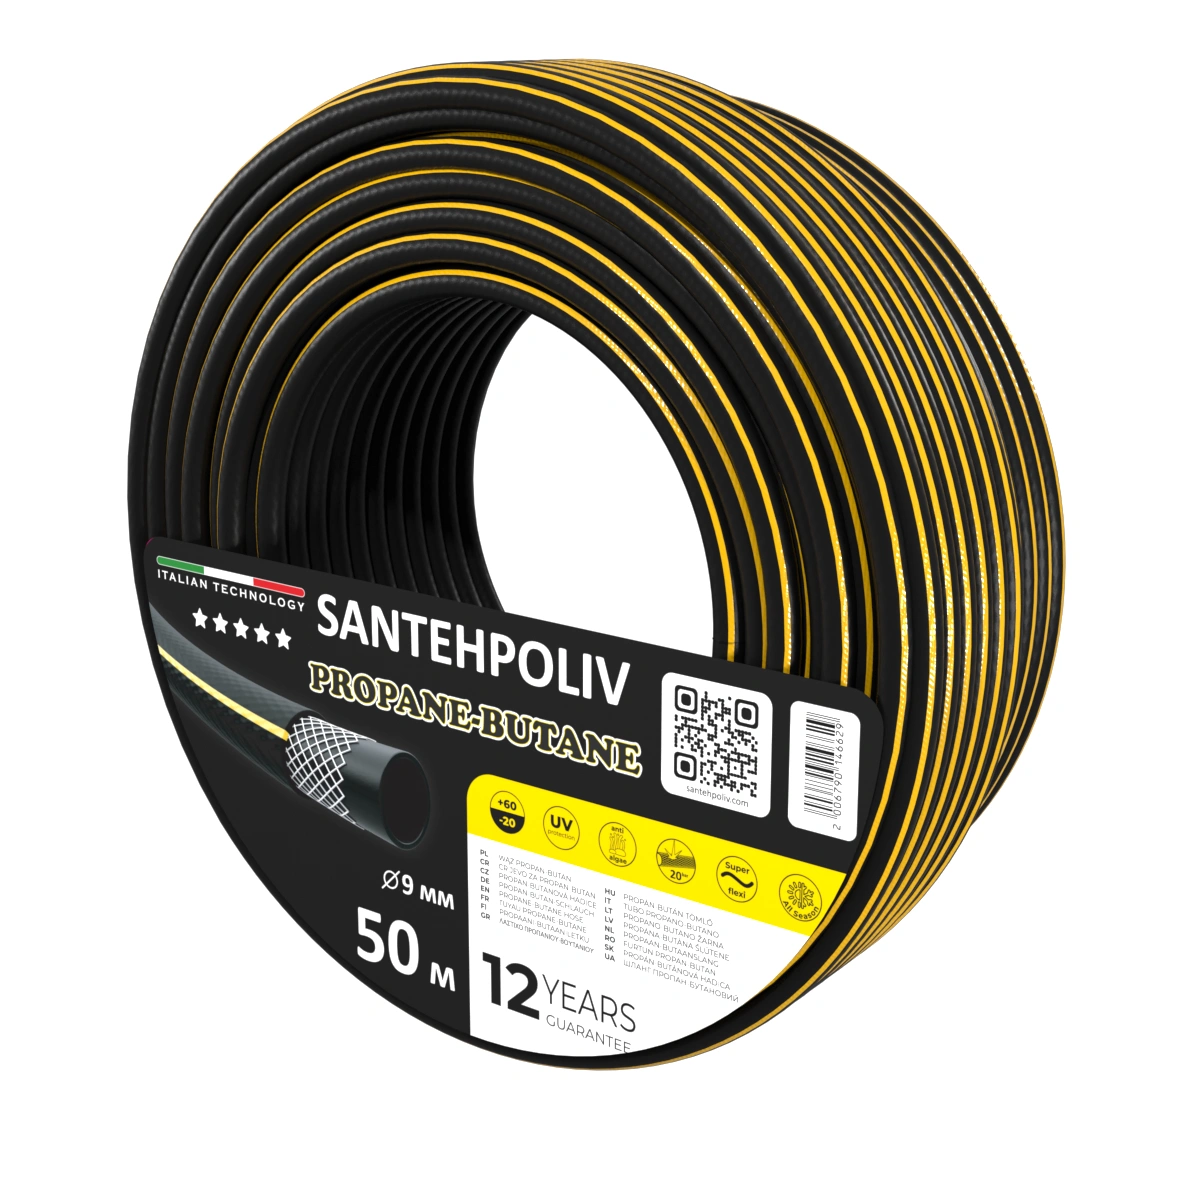
- Mainline pipe: 16 mm LayFlat for plots up to 500 m², 25–32 mm HDPE/PE for larger areas or estates
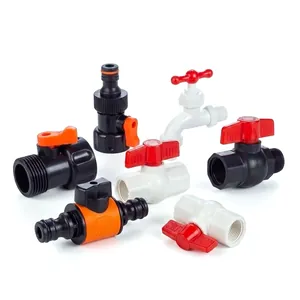
- Tape start connectors
- Tape end caps
- Water filter (120–150 mesh, disc or screen)
- Faucet for water connection
- Pressure regulator (if pressure exceeds 1.5 bar)
- Irrigation timer (optional)
Tools:
- Hose punch or 4mm drill
- Tape measure
- Scissors or sharp knife
- Marker for marking
- Securing stakes
All necessary materials available in our store:
Go to catalogStep-by-step instruction
System planning
Measure garden area and create bed layout scheme. Determine water source location and connection point. Calculate required drip tape quantity (usually 1 row = 1 tape).
Tip: Create paper plan with distance markings. This helps accurately calculate materials and avoid excess spending.
Filter installation
Connect the filter directly to the water source (tap, tank, or pump). The filter protects the system from clogging caused by dirt, sand, and sediment. For drip tubing, use a filter of at least 120 mesh; for drip tape, use at least 150 mesh (due to the smaller emitter diameter).
Important: Filter needs regular cleaning (once every 1-2 weeks), otherwise system loses efficiency.
Main hose laying
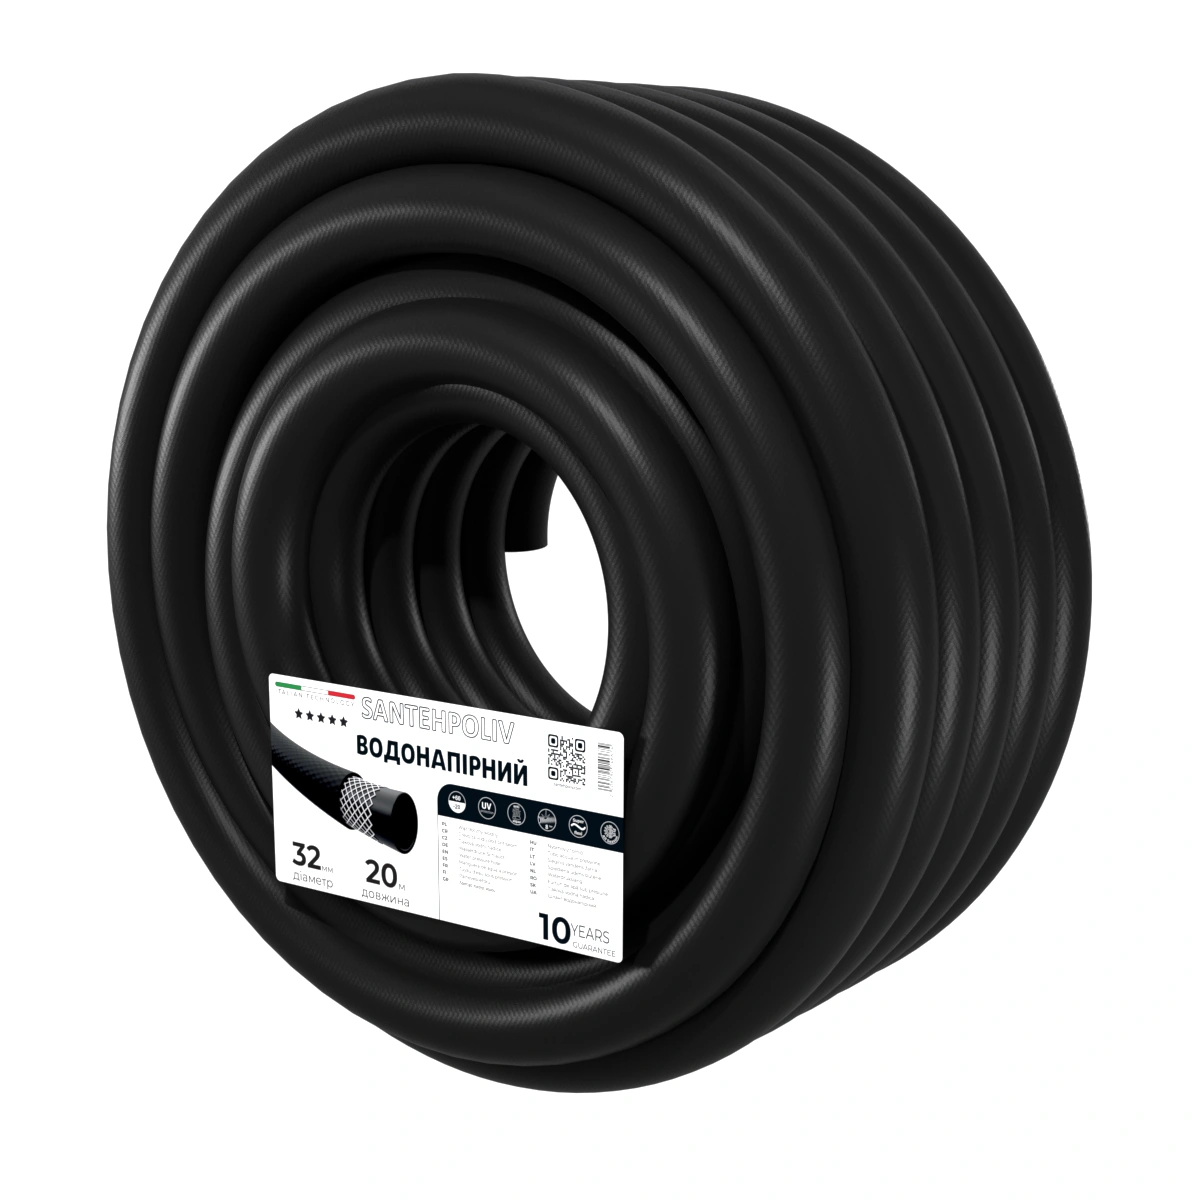
Run the mainline along the beds perpendicular to the plant rows. For small plots (up to 500 m²), 16 mm LayFlat or flat hose is suitable; for larger areas, use 25–32 mm HDPE pipe with fittings. Secure it with stakes or clips every 1–2 meters. The mainline should lie flat, without kinks.
A note on sizing: "16 mm" in home garden kits refers to the LayFlat distribution diameter, not a professional mainline. For systems over 1,000 m², calculate hydraulic losses and use HDPE ≥ 25 mm; otherwise, the far branches will be starved for water.
Start connector installation
Make holes in main hose using special punch (or drill with 4mm bit). Insert start connector-taps for drip tape connection. Distance between holes = your bed width (usually 60-90 cm).
Life hack: Before installing connectors mark all hole locations with marker. This helps make them even and symmetrical.
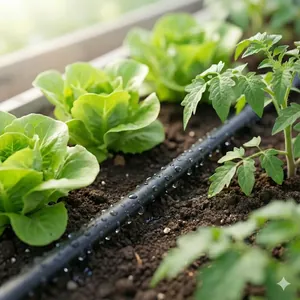
Drip tape laying
Connect drip tape to start connectors. Lay tape along plant rows drippers UP. Cut tape to required length and close ends with caps. Tape should lie loose, without tension.
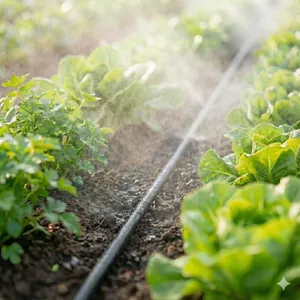
System testing
Open water and carefully check all connections for seal. Ensure water flows evenly from all drippers along entire tape length. Adjust water pressure with reducer if needed (optimal pressure 0.5-1.5 bar).
Timer setup (optional)
Install automatic irrigation timer between filter and main hose. Set irrigation start time (better morning at 6-7 AM) and duration (30-40 minutes). Irrigation frequency depends on weather: daily in heat, every other day in moderate weather.
Operation tips
- Regularly check filter and clean from contamination
- End of season drain water from system and remove tape for storage
- Use drip irrigation fertilizers through special injector
- Don't exceed recommended water pressure (maximum 1.5 bar)
For farmers and greenhouses: scaling the system
Commercial greenhouses, estates, and field crops require a different calculation. Here are the key differences from a home garden setup:
- 32–50 mm HDPE/PE mainline with hydraulic loss calculations (up to 20% pressure over 100 m)
- Pressure-compensating (PC) tape or emitters for uniform flow on sloped plots or lines over 100 m
- Disc or sand filter with a backflush system — mandatory for well water
- Fertigation: a fertilizer injection node (Venturi injector or dosing pump) after the filter
- Zoning: divide the system by crop/aspect and control each zone independently
For projects from 1 ha or greenhouses from 500 m², our team will perform a hydraulic calculation and select equipment to specification.
Ready to install drip irrigation system?
Our catalog has all necessary materials for creating efficient irrigation system.