How to properly prepare irrigation system for winter
Step-by-step instruction for conservation and equipment storage during winter period. Extend irrigation system service life for years.
Why is this critically important?
Water remaining in irrigation system freezes at 0°C and expands 9%. This leads to:
- Drip tape rupture - the most common cause of failure
- Cracks in fittings and connectors
- Filter and timer housing destruction
- Hose and seal deformation
Proper conservation extends equipment service life 2-3 times!
What you'll need
Tools:
- Compressor or car pump
- Screwdriver (for timers)
- Adjustable wrench
- Bucket for water
- Cloth for cleaning
Materials:
- Storage boxes or containers
- Bags for tape
- Labels or marker for marking
- Dry warm room (garage, storage, shed)
Step-by-step instruction
Drain all water from system
Close inlet water faucet. Disconnect timer or open all taps on distribution manifold. Remove caps from drip tape and main hose ends - water should completely drain. For complete water removal connect compressor to system inlet and blow with air (pressure 0.5-1 bar) for 5-10 minutes.
Tip: If no compressor - raise hoses and tape vertically, shake them - gravity helps drain most water.
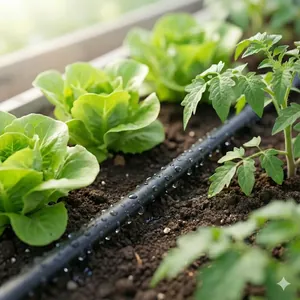
Dismantle drip tape
Disconnect the drip tape from the start connectors on the mainline hose. Carefully remove the tape from the beds and wind it around your hand or a peg. Shake off any remaining soil and debris. Lay the tape out to dry for 2–3 hours — preferably in shade or under a canopy with airflow, NOT in direct sunlight: UV radiation accelerates polyethylene degradation. Once dry, coil into rolls 30–40 cm in diameter so the tape does not deform. Label each roll with its length on a paper tag.
Life hack: Sort tape by emitter spacing and thickness. In spring this saves much time restoring system.
Remove and clean filters and timers
Unscrew filters from inlet faucets. Disassemble filter housing, remove filter mesh or cartridge. Wash under running water from sediment, rust and deposits. Mandatory dry all parts - moisture residue leads to corrosion. Remove electronic irrigation timers. Open battery compartment and remove batteries (even new ones - they may leak). Check rubber gaskets - if cracked or hardened - replace with new ones in spring.
Important: Mechanical timers also better remove - frost can damage plastic gears and mechanism springs.
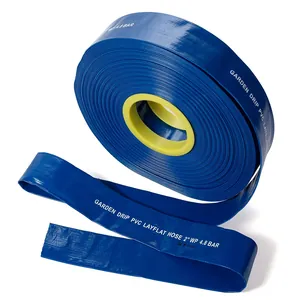
Clean and dry main hoses
Fill the mainline hose with clean water and flush under pressure — this removes salt deposits, rust, and sediment. For heavily contaminated hoses (with limescale), use a 3–5% citric acid solution (30–50 g of acid per 1 L of warm water) — let it sit for 1–2 hours and then rinse thoroughly with clean water. Alternative: white vinegar 9% diluted 1:1 with water for 2 hours. A concentration below 1% (such as "1 tablespoon per 10 L") will barely dissolve limescale. After flushing, drain all water completely and blow out with a compressor. Lay the hoses in the shade for final drying for 4–6 hours (not in direct sunlight — UV ages rubber/plastic). Coil the dried hoses into loops 50–70 cm in diameter without sharp bends or kinks — this preserves the material's flexibility.
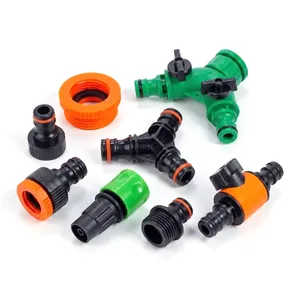
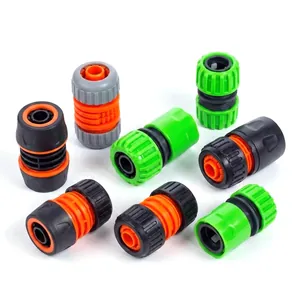
Collect and sort fittings and small parts
Collect all system small parts: start connectors, couplers, repair couplings, caps, valves, pressure reducers. Wash each element from dirt and sand. Check serviceability - if valve doesn't hold water or connector cracked - set aside separately for replacement. Sort parts by type into separate bags or box compartments. Label each bag: "Start connectors - 20 pcs", "Caps - 15 pcs" etc. This speeds spring search and helps compile necessary purchase list.
Tip: Use transparent plastic containers with compartments (for fishing tackle or screws) - immediately see what's inside.
Organize proper storage location
Find dry heated or at least non-freezing room (+5°C minimum). Ideal: heated garage, house storage, warm veranda, insulated shed. Place tape and hose rolls vertically on shelves or horizontally on floor (don't hang - may deform under own weight). Put fittings boxes on top shelf. Wrap filters and timers in paper or fabric from dust. Avoid places with: direct sunlight (UV destroys plastic), high humidity (metal corrosion), temperature fluctuations (condensation inside equipment).
Important: DO NOT store equipment in unheated sheds or outdoors under film - even brief freezing can damage plastic.
Additional tips for maximum service life
- Perform conservation before first frost (end October - early November) - don't wait until water freezes in system
- Photograph connection scheme before dismantling - in spring easily remember how everything connected
- Make damaged parts list immediately - in spring buy everything needed at once
- Every 2-3 months check storage location for moisture, rodents or dust absence
- Spring (March-April) check entire system before launch - replace worn parts and gaskets
Spring launch checklist
What to check before launching system in spring:
- Inspect drip tape for mechanical damage
- Replace all worn gaskets in filters and timers
- Install new batteries in irrigation timers
- Flush filters before first launch
- Run test system launch for 10-15 minutes
- Check all connections for leaks
For farms: winter storage of large systems
For systems of 1+ ha or drip networks in greenhouses:
- Blow out HDPE mainlines with a compressor at 6–8 bar — not just gravity drain, but complete removal of all water pockets in low spots (water expands 9.05% when freezing and ruptures pipes)
- Drain valves at the lowest points of the mainline — install during construction so you don't need a compressor every year
- Flush disc filters with a 3–5% citric/sulfuric acid solution (pH 2–3) to remove Fe/Ca deposits from well water
- Chlorine treatment (50–100 ppm) for 30–60 min to remove biofilm and algae from the tape before storage
- Subsurface drip (SDI) — store WITHOUT removing: blow out with a compressor and block the valves against soil ingestion
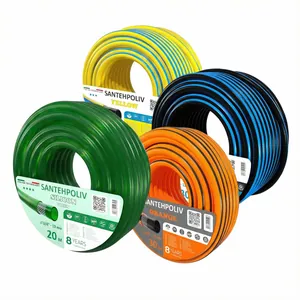
Time to prepare for new season?
Our catalog has everything needed for restoring irrigation system: drip tape, fittings, filters and timers.