How to set up fully automatic irrigation system
Comprehensive guide for creating intelligent auto-irrigation system with timer and sensors. Watering without your participation 24/7.
Automatic irrigation system advantages
Time savings
You can go on vacation - garden watered automatically
Water savings of 30–60%
Drip irrigation + timer saves 30–50% compared to sprinkler irrigation; adding an ET controller and soil sensors provides another 10–20%. Up to 70% savings are achievable in dry climates on open ground when compared to manual watering.
Yield increase
A consistent irrigation schedule without plant stress increases yields by 15–30% for most vegetable crops; up to 40–50% only when switching from irregular manual watering to automatic drip irrigation
Intelligent control
Rain and moisture sensors - watering only when necessary
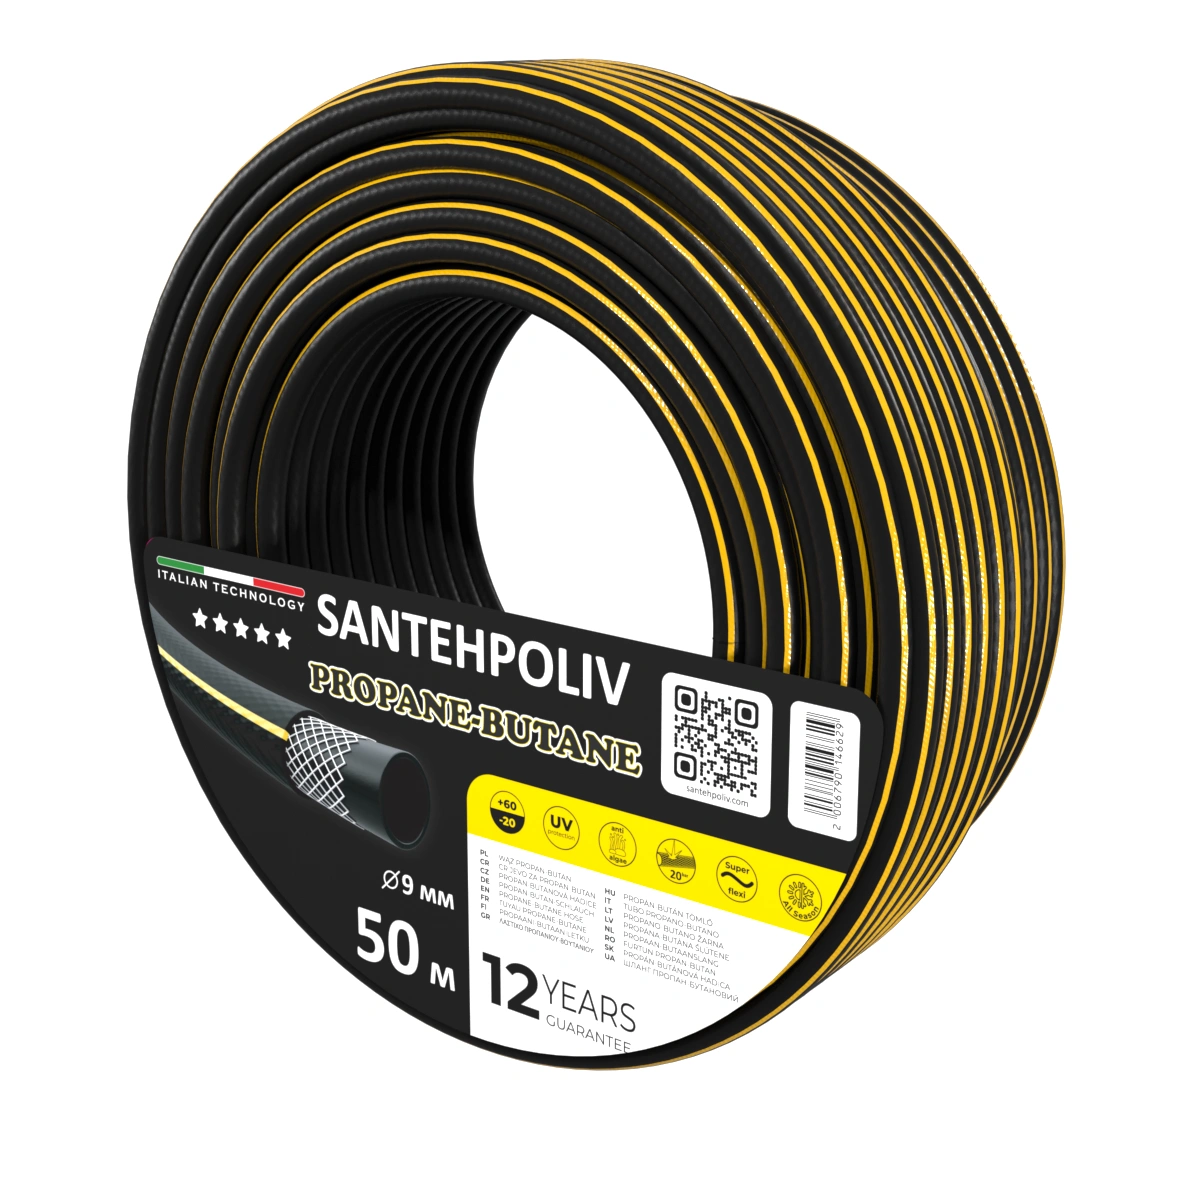
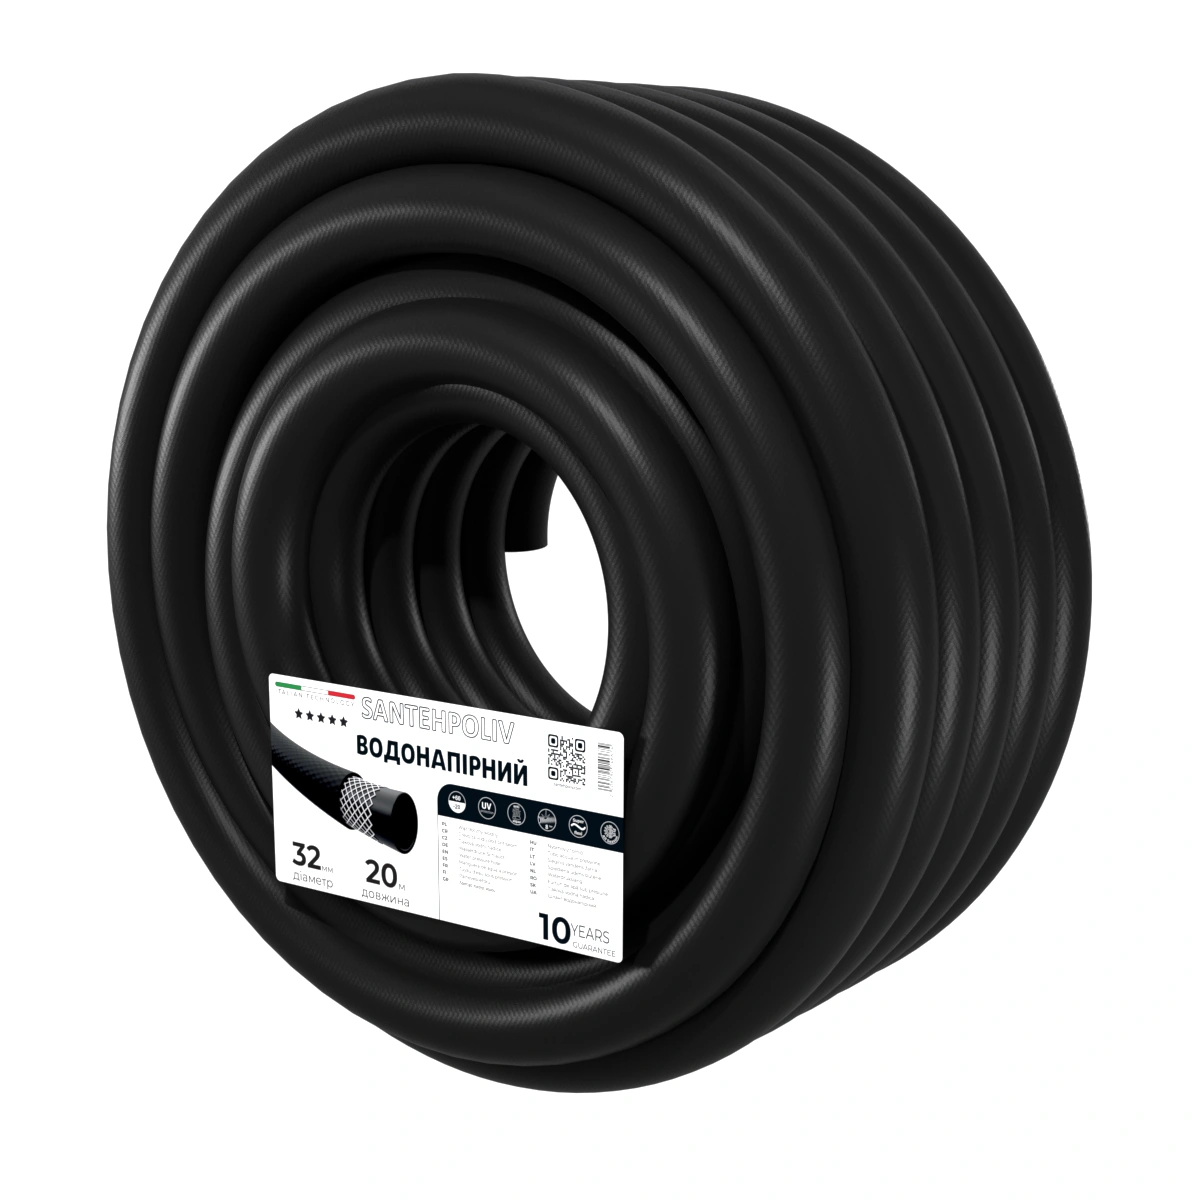
System required components
Basic components (mandatory):
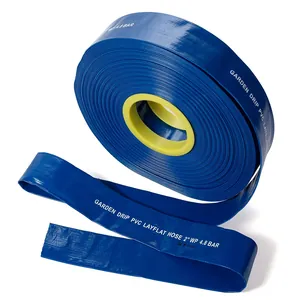
- Drip tape (calculate based on garden area)
- Mainline: 16–20 mm LayFlat/hose for gardens up to 500 m², 25–32 mm HDPE for plots of 500+ m²
- Electronic irrigation timer with LCD display (from UAH 600)
- Fine filter, 120–150 mesh (from UAH 300)
- Drip tape start connectors
- End caps and plugs
- Pressure reducer 0.5-1.5 bar (if pressure high)
Advanced components (recommended):
- Rain sensor (from 400 UAH) - water savings in rainy weather
- Soil moisture sensor (from 800 UAH) - watering by actual need
- 2 or 4 zone controller (from 1500 UAH) - different zone programs
- WiFi module for smartphone control (from 1200 UAH)
Tools:
- Hose punch or 4mm drill
- Tape measure, scissors, marker
- Screwdriver (for timer)
- Hose securing stakes
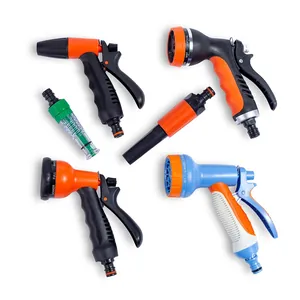
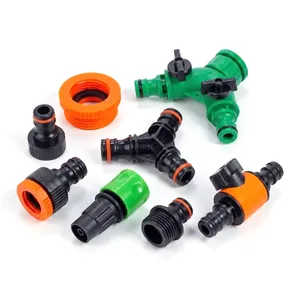
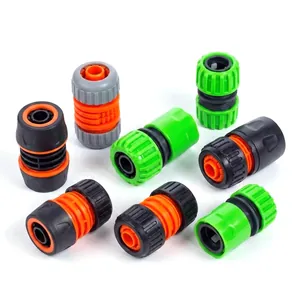
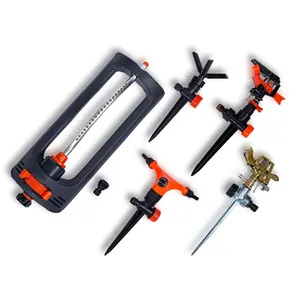
Auto-irrigation system components in our catalog:
Go to catalogStep-by-step instruction
Design irrigation system
Draw your garden plan on paper or in program. Mark: water source (faucet, well, tank), all beds with length specified, controller/timer installation location (under canopy or in protected place), electrical outlet if planning WiFi or multi-zone controller. Calculate materials: tape length = bed length × row count + 15% reserve.
Tip: For garden over 6 acres recommend multi-zone system - different crops need different irrigation frequency and duration.
Irrigation zones (example):
- • Zone 1: Tomatoes, peppers, eggplants - water daily 40 min
- • Zone 2: Cucumbers, zucchini - water daily 30 min
- • Zone 3: Root crops, greens - water every other day 25 min
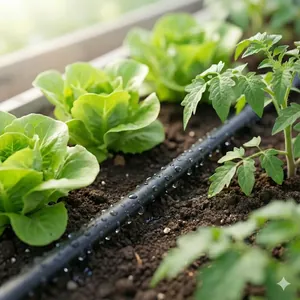
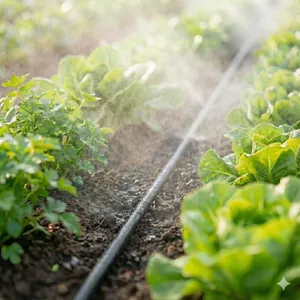
Install basic drip irrigation system
Connect filter directly to water faucet. From filter lay main hose perpendicular to bed rows. Secure hose with stakes every 1-2 meters. Make holes for start connectors (distance = bed width). Connect drip tape to connectors. Lay tape along rows drippers up. Close tape ends with caps.
Important: Before connecting timer test system in manual mode. Open water and check no leaks, water flows evenly from all drippers.
Detailed instructions: How to install drip irrigation
Install auto-irrigation timer
Turn off water. Disconnect main hose from filter. Screw irrigation timer onto filter outlet. Connect main hose to timer outlet. Open timer battery compartment and install 2 AA batteries (observe polarity +/-). Display should show time 00:00. Set current time (CLOCK or TIME button).
Basic timer settings:
- Start time: 6:00 ранку (мінімальне випаровування)
- Duration: 30-40 хвилин для крапельного поливу
- Frequency: Щодня у спеку, через день у помірну погоду
- Mode: AUTO для автоматичного запуску
Detailed instructions: How to connect irrigation timer
Connect rain sensor (optional, +400 UAH)
Rain sensor automatically turns off watering in rainy weather, saving water and money. Install rain sensor in open area without obstacles (not under trees, not under roof). Installation height: 1.5-2 meters above ground. Run wire from sensor to irrigation timer. Connect to special "RAIN SENSOR" or "SENSOR" input on timer. Set sensor sensitivity (usually 3-5 mm precipitation to trigger).
Savings: Rain sensor pays for itself in 1 season through water savings. In rainy summer savings can reach 40% water!
Install soil moisture sensors (optional, +800 UAH)
Moisture sensors measure actual soil moisture content and water only when needed. This is smartest automation level. Select 2-3 key points in garden (different crop types). Install sensors at 10-15 cm depth (root system zone). For tomatoes, peppers - closer to stem. For greens - between plants. Connect sensors to smart controller (WiFi timer or multi-zone controller with sensor support). Set moisture threshold: watering starts when moisture drops below 30-40%.
Technology: Modern sensors use capacitive measurement method - they don't rust and work 3-5 years without maintenance.
Set up irrigation programs for different seasons
Most electronic timers support 2-4 independent programs. Create programs for different times of year:
Program 1: Spring (April-May)
- • Time: 7:00 AM
- • Duration: 20-25 minutes
- • Frequency: Every other day
- • Reason: Moderate temperature, soil still moist after winter
Program 2: Summer (June-August)
- • Time: 6:00 AM
- • Duration: 35-40 minutes
- • Frequency: Daily
- • Reason: High temperature, intensive evaporation
Program 3: Fall (September)
- • Time: 8:00 AM
- • Duration: 15-20 minutes
- • Frequency: Every 2-3 days
- • Reason: Lower temperature, more rain, season ending
System testing and calibration
Run complete automatic irrigation cycle in test mode. Check operation for week:
- День 1: Observe first automatic start. Ensure timer triggered at set time.
- День 2-3: Check moisture uniformity. Dig small holes (5-10 cm) in different places - soil should be moist to full depth.
- День 4-5: Rain sensor test: Simulate rain (pour water on sensor from watering can). Timer should stop watering.
- День 6-7: Final adjustments. Increase/decrease duration if soil too dry or overwatered.
Done! Your auto-irrigation system works autonomously. Check weekly and adjust for weather conditions.
System regular maintenance
| Frequency | What to do |
|---|---|
| Once a week | Check timer triggers on time. Inspect system for leaks. |
| Every 2 weeks | Clean filter from sediment. Check timer battery charge level. |
| Once a month | Check sensor functionality. Clean drip tape from contamination. |
| Season change | Change irrigation program according to weather. Adjust duration and frequency. |
| Fall (October) | Prepare system for winter: drain water, remove timer, winterize equipment. |
Detailed instructions: How to store irrigation system in winter
Expert optimization tips
- Install mobile app if your timer supports WiFi - control watering from anywhere in world
- Integrate system with weather station - automatically adjusts watering by forecast
- Use mulching (straw, agro-fabric) - reduces evaporation and extends watering intervals
- Keep irrigation log - record time, duration and plant condition for program optimization
- For large gardens (over 10 acres) use professional multi-zone controllers for 4-8 zones
For B2B: greenhouses, farms, landscape projects
Home "automation" with 1–2 zones and professional automation are fundamentally different levels. Here is what distinguishes a professional system:
- 8–48 zone controllers: Hunter Pro-C / HPC, Rain Bird ESP-LXME, Galcon AC-24S. Operate 24V valves via relays or latch solenoids
- ET algorithm (evapotranspiration) — the system adjusts watering duration based on evaporation data from a weather station. Saves 30–40% water vs. a fixed schedule
- Master valve + flow sensor — automatic shutoff on leaks/overconsumption (mainline break detection)
- Fertigation: Venturi injector or dosing pump (Dosatron / MixRite) after the filter. Precise NPK solution delivery with irrigation — 25–30% fertilizer savings
- Soil moisture sensors, tensiometric / capacitive (Watermark, Sentek, Meter EC-5) at 2–3 depths — irrigation driven by actual moisture deficit in the root zone
- Filtration system: 120–150 mesh disc or sand filter with automatic backflush — mandatory for well water
For greenhouses 500+ m² and farms from 1 ha, our engineer provides design services: hydraulic calculation, controller/valve selection, equipment specification, and installation drawings.
Ready to create your auto-irrigation system?
Our catalog features all components for creating fully autonomous irrigation system: timers, sensors, controllers, drip tape and accessories.